Guest Blogger: Annie's Corset Project
Posted on
Class One: I've started a big project... A corset project! Corsetry has ways been something that has fascinated me and since picking up sewing I decided it was time to make one tailored to me.
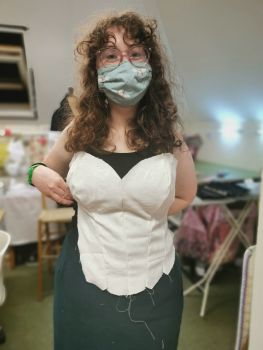
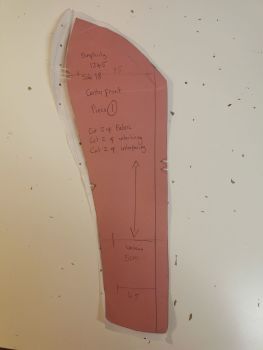
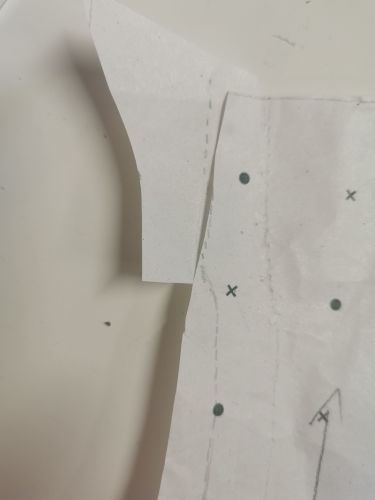
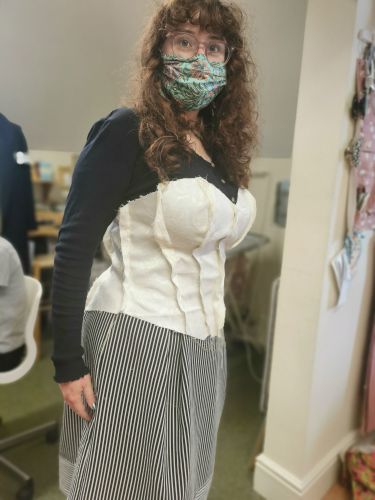
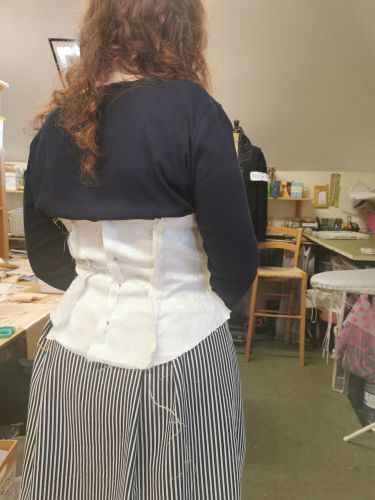
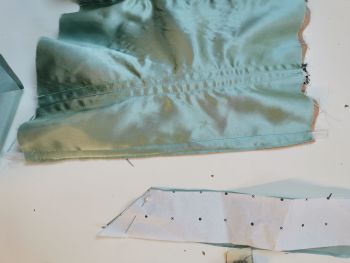
The fit of it is what took up my first stitch class, fitting a corset and it's pattern which was available, to myself. Although the corset was pretty close to my size, there was a lot that needed changing! The bust had to be enlarged and the back panels shortened... And shortened... And next time they will be shortened again! As can (sort of) be seen in the picture, the pattern piece below the original one is how much it needed to be changed. All this can be tested for sure with a mockup, which is almost finished! The fit is already pretty good and I can't wait to finish the mock up, make any last changes, and get on to the real thing.
If you'd love to make yourself a corset in our classes, head over to our corset project page here to find out more
Class Two: This time was more of the same, fitting the mockup! Since the corset has to fit my body perfectly, it's no surprise its taken me another lesson to get it right. It fits pretty well now, all adjustments have been made such as shortening the back panels, and I've started to adjust the pattern pieces (and sticking extra paper along the side where I didn't have enough space for the seam allowances!).
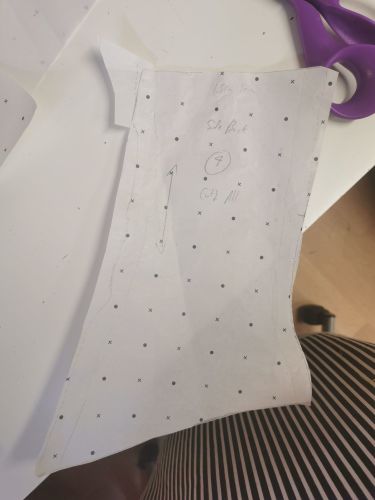
Class 3 and 4: My corset has been advancing swiftly now! All my pattern pieces have finally been fully adjusted and the pieces themselves have been cut. I also ironed interfacing to the satin pieces to give them some support as they are quite thin.
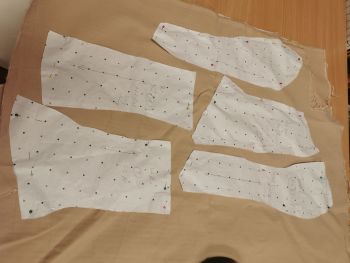
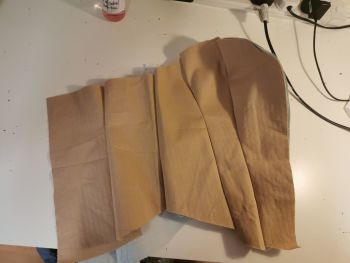
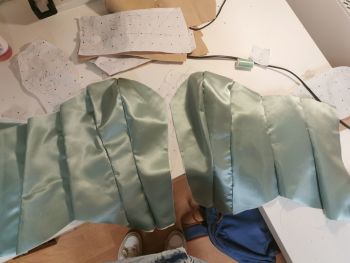
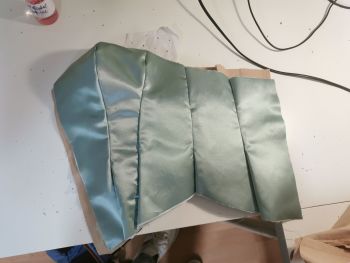
And so it began... Sewing the pieces together! This part was quite daunting since the pieces have so many curved edges and I wanted to get it perfect. I moved very slowly at first, but my confidence definitely grew. I sewed the satin pieces first and by the time I reached the beige inner layer I was able to get them done in no time. And so both sides of theinner and outer layer have been sewn!
Next comes adding the boning... To be continued!
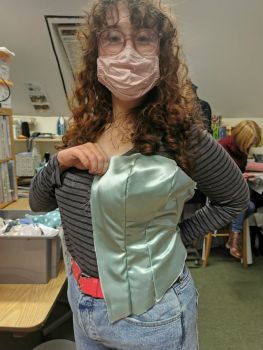
Class 5: Now it's time to prepare for the boning channels! The boning channels are, of course, a vital part of the corset which gives it its shape and support. In order to create those my inner layer's seam allowances are ironed opened (this just makes it easier to sew later on). On the seam allowances I placed a black ribbon which will become a channel. For me, this requires many pins as the pieces are significantly curved and I don't want the ribbon moving about!
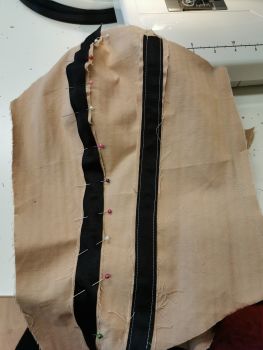
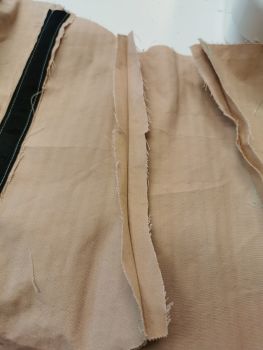
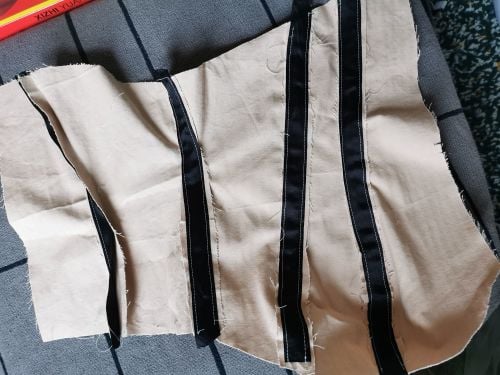
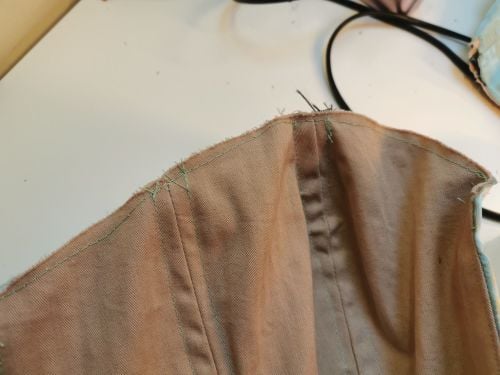
My first attempt was more like three until I could finally work out the best way to sew it. At first I tried to sew from the front of the piece in order to achieve nice straight stitching on the outside. However this meant that my sewing on the ribbon was not straight. This means that the bones (plastic, of course) would not have been able to fit in the channels. The ribbon is fairly narrow as well, so precision is key. In the end sewing directly on the ribbon was the best choice and my previous straight stitches on the outside didn't end up too badly after all. My stitches are green since I accidentally bought so much green thread it would feel like a shame not to use it!
The most difficult part was the seam of the most front pieces for the bust. It is so heavily shaped that I ended up having to move at a snails pace just to get it done! In the end I almost finished one side of the corset in terms of channels. Next time will be much quicker!
.
"It's fair to say I'm happy that only one of the two layers has boning in it!"
Class 6: Oh dear, we're going into lockdown again! So I am sad to say my corset will not be continuing for quite a while, especially since I'll hopefully be able to travel back home for December! But I am delighted to have been able to attend a final lesson before my long break from Stitch Classes.
 .
. 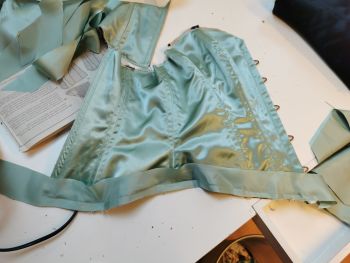
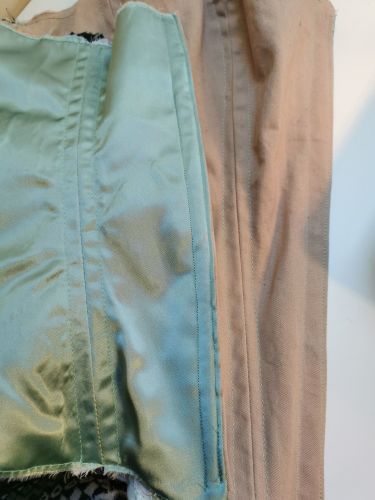
First I did a quick try on and Mel helped me by pinning the back panels to the size where the lacing would be appropriate. Then I gently cut off some extra excess from those back panels and folded the two layers inwards 2cm. I then carefully top-stitched the pieces together with a very small seam allowance.
To get it ready for eyelets (and lacing) I needed to give it some extra stability with, you guessed it, some more boning! The boning needed to be very narrow to leave enough space for the eyelets, and none of the pieces were quite the right size. Luckily they are only plastic so I was easily able to cut one piece in half and sew it in. I did this the same way I did the busk pieces by sliding the boning in between the two layers and the using a zipper foot to get as close to the edge of the bone as possible and secure it in place.


 .
. 
Next comes the binding over the top. To make this easier I machine-basted the edges of the corset closed (like tacking but by machine) before attaching the binding. This way I don't have to worry about the pieces sliding around while I try and add binding as well! Then I managed one half of one binding... I have to wait a while to even get that done now! It's a shame that the Online Stitch Classes Sew In Brighton is running during lockdown won't logistically work for me, I guess I'll have to be patient...
To be continued!
If you would like to coming along to sewing classes during lockdown and beyond, checkout our online classes here
Check back here weekly for updates on Annie's corset-making journey!
Would you like to have a go at making your own corset?
If so, find out more about our corset making project here and book online to our Stitch Classes or One-to-One Lessons.
If so, find out more about our corset making project here and book online to our Stitch Classes or One-to-One Lessons.
